Mechs
This section contains all the mechs that happen in phase 2.
DPS Check (500x)
The whole mech is too long to post in a single clip so below is a link to a full solution if you want to see it from the start to the end.
Here is the explanation step by step to correctly resolve it including clips.
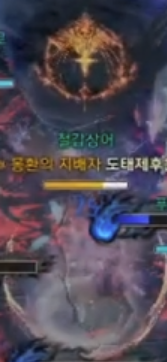
Just before the mech happens Kazeros will spawn chains on top of the players just like after a clash followed by large spears. After that he will teleport to the middle and begin the mech while also restoring previously blocked off parts of the arena from clash.
At the start 3 people get assigned markers above their heads which indicate safe spots.
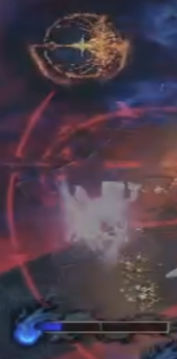

Wave of flames moves through the arena one time in a hashtag shape followed by Tic Tac Toe board shape.
At the same time during the first wave of flames one of the blue fires lit up around Kazeros on one of the 3 positions: 3/6/9. It indicates the safe spot for the upcoming explosion that results in instakill if you are not standing in the correct spot.
After you correctly identify the safe spot you have to move there before the explosion happens. During this time Kazeros will also do a guard which will kill you if you do not execute it properly.
Below is a full clip of a properly executed first part.
Explanation of a few things.
Marked players and flames are correlated. That means if a flame spawns on position 3, the player that has a marker pointing at 3 (the needle, not the arrow) will be a safe spot. Your safe spot is the position from 700x mech that you need to remember.
guard timing is a bit after the arrows from its indicator disappear.
The whole chain of events happens 3 times with a slight variation after the 1st one. There is an added co-op counter that happens after the hashtag flame. People that counter will spawn a big puddle under them after a few seconds that persist for the rest of the mech.
That means, when you will be doing the 3rd safe spot, these puddles will still be there followed by another 2 on the next co-op counter.
It's important to place them in a way that won't collide with safe spots. You can also overlap them to reduce the space that they take.
Mech is concluded the moment you destroy his shield which has 216 bilion HP. If you do not manage to destroy it in the time you use all 3 safe spots, mech will result in a raid wipe. You do have a bit more time to destroy his shield after the 3rd one. After you complete the mech Kazeros will spawn chains on top of all people and block off parts of the arena again.
Wei Clash (380x)
Last mech of P2 which is pretty much free opening with the hidden sidereal.
Kazeros throws one spear toward the air and then follows up with using another one to slam the ground in front of him creating a wide AOE which is guardable. After that he teleports above one of the players with a shield and creates donuts of falling spears in front of him as well as a clash spot right in the middle of those donuts.
You can start moving top the moment you see him throwing his spear to reposition him there
The timing for guard is right after the yellow glow.
You want to use hidden sidereal Wei here pointing at the Kazeros right after you see him doing clash animation (clash spot spawns in front of him) which gives you a free opening to burst through his shield as well as his HP. It also allows you to not clash (Wei does it for you).
After that it's the same patterns till you reach P3 which starts at 300x.